
Note: This is a beginner-level overview of Git and GitHub. Some ideas may be oversimplified. I’ve taught this workshop at natHacks 2024, natHacks 2025 & natIgnite 2025.
Setup Git 👾
Before we get started with the good-stuff, we need to prep our computers with the tools we need.
Create a GitHub Account
1. Sign up on GitHub’s website
Install Git
1. Download Git and install it.
2. Set up your Name and Email Address. This should match your account details on GitHub, as it will be recorded in your commits.
1# Name2git config --global user.name "Cool Name"3# Email4git config --global user.email "cool.name@email.com"GitHub Desktop
GitHub Desktop is a good resource to use for Cloning repositories, especially private ones.
Create a Repo 🛠️
A Repository (or repo, for short) is where all the code for a project is stored. You can think of it as a folder, for simplicity.
You can have a project span multiple repositories (for example, one repo for the frontend and one for the backend), or multiple related projects in one repository (mono-repo).
You can create a Repository on GitHub and clone it to your computer. Or, you can create a repository locally and then publish it to GitHub. We’ll be focusing on the former in this workshop.
Creating a Repository on GitHub
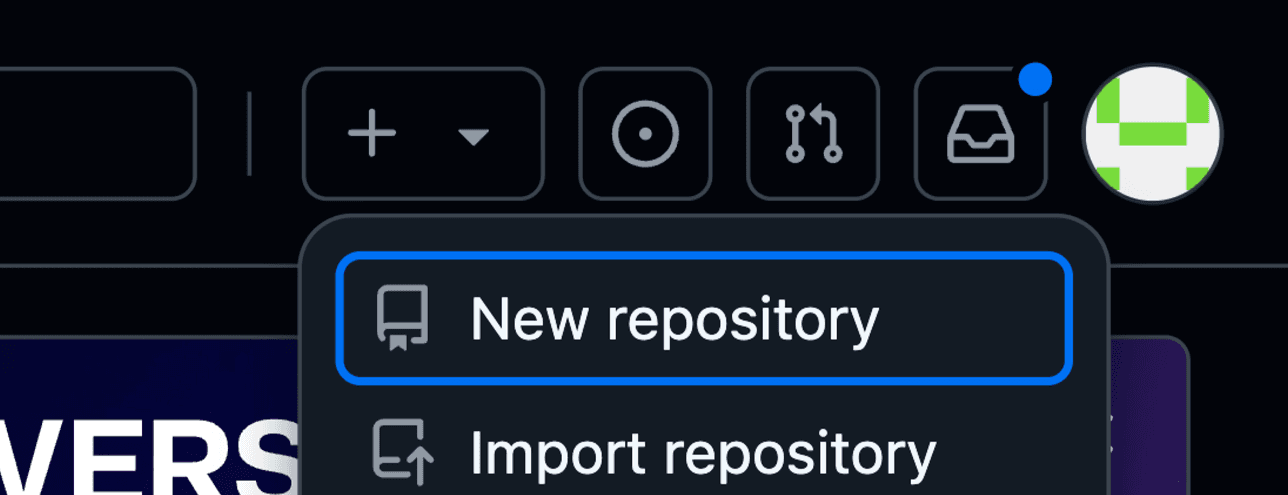
1. Go to GitHub and click on the + symbol in top right corner, and click “New repository”:
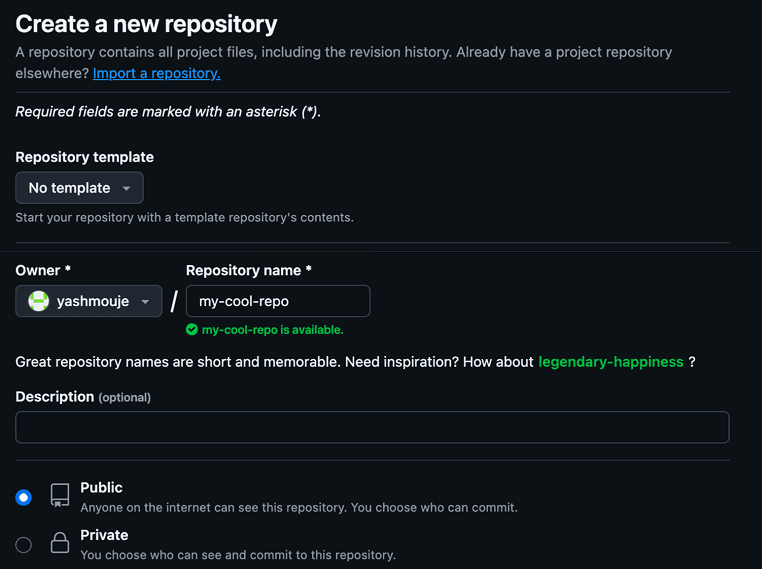
2. Then set a Repository name. We’ll be using the name my-cool-repo for this workshop. Next we have repository visibility, which we’ll leave as Public for now:
3. Finally, click on “Create repository” and voila, you have created your very first GitHub repository!
Clone vs Fork 🍴
Clone means you are working on the same repository that still belongs to the original owner of the repository.
Fork is similar to Clone, except here it’s the Git hosting platform (like GitHub) that clones the repository.
For the purposes of this workshop, we’ll be using Clone. You can do so by running the following command:
1git clone my-cool-repoSince the repo is public, we won’t have any issues cloning this. If this was a private repository, you’d need to create an Access Token or use GitHub desktop to clone.
First Commit 😃
Create a new file called Readme.md. Then run the following command:
1# see changes not staged2git status3 4# Stage Readme.md5git add Readme.md6 7# see staged changes8git statusThis command “stages” changes. What this means is that Git now adds all modified and newly created files into the staging area, which in turn means that Git is now tracking those files.

Alternatively, if you wanted to stage all changes recursively from the root directory of your repo, you can use the following command:
1# :/ stands for Root directory2git add :/Now, we’ll be committing our changes by running the following command:
1git commit -m "your commit message"-m is the flag for commit message
Push! 💪
1git pushEnsure your branch is published before you push this way!
Since we’re using the main branch by default, it won’t throw an error. You can verify which branch you are on by running the following command:
1# View current branch2git branch --show-current3 4# View all existing branches5git branchWe’ll look into Publishing your Branch in a few sections. Don’t worry, we’ve got you covered!
Pull! 👇
1git pullGet to see your friend’s work!
Branches 🌴
1# create a branch2git branch my-branch-name3 4# switch to your new branch5git switch my-branch-nameYou’ll probably see people use git checkout more often, which is the older way of doing this. However, this can be confusing, and even dangerous, at times. So, it’s better to use git switch.
Publishing your Branch 🧐
1git push -u origin my-branch-name-u is the flag for “set upstream”
Origin signifies that you are referring to the branch in your repository on GitHub, and not the branch existing locally on your machine.
Pull Requests 🤝
You have written great code, but the world doesn’t know that. So you request the world to pull your code :)
Once you have created a new branch and pushed a commit, you can go to your branch on GitHub and create a Pull Request to merge your changes into the main branch:
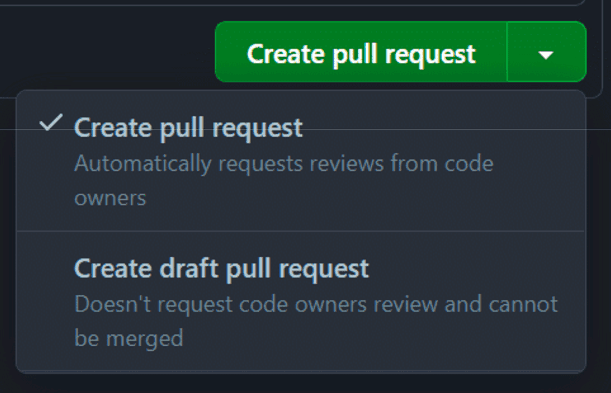
You’ll be asked to give a Name and description for your Pull Request. Make sure your description is descriptive of all changes you made.
Usually, you have at least one other person review your code before a Pull Request is merged.
⚠️ You can merge without review, but do this with caution and only when necessary.
🤔 Some people prefer rebase instead of merge, but we will not be covering that in this workshop.
Conflicts 😔
What if you and your friend work on the same line of code and make different changes at the same time. Git doesn’t know which version to use– should it choose one version or should it combine both versions? This results in a Conflict.
Resolving Conflicts
Start by figuring out where the conflicts exist by running the following line in your terminal:
1# see where conflicts lie2git statusThen open the file in your favorite editor:
1<<<<<<< HEAD2console.log("Hello World");3=======4console.log("Howdy, world!");5>>>>>>> my-branch-nameBetween <<<<<<< HEAD and ======= is the version that exists on the main branch (or whichever branch you are trying to merge to), and the other is the version that exists on my-branch-name.
Finally, after you have finished finalizing which version you want, go back to the terminal and commit your changes:
1# add/stage your changes2git add .3 4# commit your changes5git commit -m "Resolved merge conflicts"And now you have successfully resolved your first merge conflict!
Conclusion 🗿
You have now been initiated into Version Control Systems!
Conquer the kingdoms of code with your trusty companion, Git, by your side! All the information covered in this workshop should be able to get you through both hackathons as well as your own projects!
Pssst! You can use SSH or GPG keys to get the fancy “verified” tag next to your commits. You’re welcome :)